

Who doesn’t love to sit on a patio with a cup of tea to enjoy their afternoon? But the heat of the sun or the rain might ruin your moment.
You should know how to attach a patio roof to an existing house if you want to enjoy the weather as well as stay protected from the sun and rain.
Installing a patio roof can be the solution of your problems.
You will need to be patient throughout the process because you will need woodworks that will take a while.
If you have the proper tools and know the right technique, then you will be able to attach a patio roof successfully in your house.
Below, we have provided a step by step guide which will help you to attach a patio roof on your house.
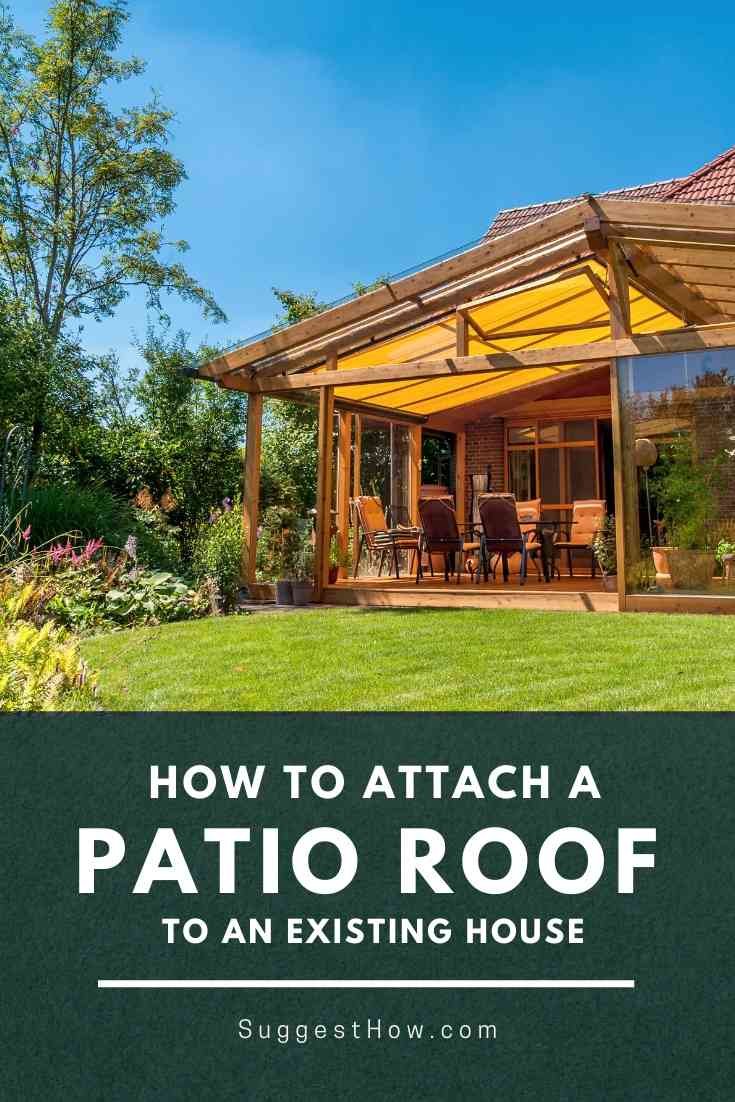
How to Attach a Patio Roof to an Existing House
Step 1: Gather the necessary tools
You will need nails, nailer, rafters, planks, utility knife, roofing shingles, screwdriver, lag bolts, utility knife, wooden beams, etc.
If you work with wood projects regularly, then you will own some of these tools already.
For example, you might have nails, screwdriver, utility knife, etc. already in your house. However, you can go to your nearby hardware store to buy the rest of the tools.
Step 2: Check if the concrete base of your house is thick enough to support the weight of the roof
There are a few things that you will need to consider before building a patio roof in your house.
The very first thing you will need to know is that if you can build a roof directly on the slab.
To know about this, you will need to talk with the local authority, and you will need to know about the local codes.
It will be written on the local codes if you are allowed to build the roof on the slab. After ensuring this, you can go for further process.
Also, you will need to make sure that the concrete base of your house is thick enough to support the weight of the roof.
If it is not strong enough, you will need to place new footings around the perimeter of the slab.
Step 3: Determine how many rafters and beams you will need
At first, you will need to measure the sightline clearance height of your house. Determine how many beams and rafters you will need.
The number of beams and rafters will depend on what type of design you have chosen for your patio roof.
Then, you will need to measure the beams, which will be the base for your patio. It is crucial to measure the beam in the correct way.
Step 4: Remove the eave if needed
This step is optional. If you want, you can remove the eave, or you can keep it as well.
Many prefer to keep the eave as it gives an edge to the roof of the house. If you don’t want it, you can remove the eave.
If you are planning to remove the eave, make sure that you don’t cause damage to the internal structure of the house.
Step 5: Use wood stain to protect the wood pieces
Then, you will need to use a wood stain to paint the wood pieces. If you don’t seal the wood pieces, it will start rotting.
Once the wood starts rotting, it will be hard to stop the process. So, it is crucial to use wood stain in order to protect the wood pieces.
When you stain the wood pieces, it will protect the wood from sunlight and rain.
Unsealed woods can cause unexpected accidents as the woods will rot continuously. Again, continuous sunlight will discolor the natural color of the wood.
We will suggest you use wood stain instead of paint because the wood stain is more long-lasting and will provide a better result for the wood in the long run.
Step 6: Place the posts in the ground
Now, you will need to attach the wood posts in the ground. To attach it properly, you will need to use lag bolts and a screwdriver.
Make sure that the posts are tight enough with the base.
Step 7: Make an angle cut on the horizontal roof beam
Now, you will need to make a cut. You can cut it on one side of the roof beam. The purpose of this is to let the rafters sit properly on the roof beam.
Use a nailer to place the horizontal beam. Cut the rafters from the beam so that it gets flushed with the roof.
Step 8: Assemble the parts
Now, you will need to assemble the parts which include the outer rafters. You will need to attach the rafter beam with the edge.
Continue to install the rafters. Make sure that the rafters are properly placed on the rafter beam.
You will need to double-check each step to make sure these are installed properly. You cannot compromise your safety.
Step 9: Furnish the patio roof
After installing and assembling all the parts of the roof, you will need to furnish the patio roof. You can paint the roof in any color you want.
The most common colors of painting patio roofs are brown and ash color. You can match the color with your patio furniture as well.
Step 10: Lift the roof by removing eaves, gutter, and fascia
If you want to raise your roof a lit bit, you will need to remove the eaves, gutter, and fascia. Then, you will need to cut the rafters.
You can also install FHS columns if needed. You will need to install these columns on top of the wall.
Now, place the patio again. Place the beam on top of a required height.
If you follow the steps mentioned above, you can install a patio roof to an existing house by yourself at a low cost.
You will need to be patient throughout the process. With the right tools and techniques, you can be successful.
You need to be careful in each step while building a patio roof.